
Most advice about creating an email distribution list in Outlook starts with clicking New Contact Group and adding names. That's fine for a private address shortcut. It's incomplete advice for a shared department list, customer audience, or business-critical announcement.
A saved group reduces typing, but it can also hide a broken address until you send. Before building the list, choose the right kind of group, understand how Exchange counts its recipients, and check the addresses behind the name.
Table of Contents
- Contact Groups and Distribution Groups Are Not the Same
- How to Create an Email Distribution List in Outlook
- Move a Contact Group to an Organization Distribution Group
- Control External Delivery and Recipient Caps
- Clean and Segment the List Before You Send
- Fix Drops Bounces and Reply-All Noise
- Verify Addresses Before the Next Send
Contact Groups and Distribution Groups Are Not the Same
Use an Outlook contact group for a small personal list. Use an Exchange Online distribution group when ownership, posting permissions, or delivery need central management. For recurring customer campaigns, consider a dedicated email platform rather than treating either group as a marketing system.
An Outlook contact group lives in a mailbox's Contacts folder. An Exchange Online distribution group lives in the organization's address book and has centrally managed membership and delivery settings. They can look similar in Outlook's recipient field, which is why people often mistake them for the same feature.
Contact group versus Microsoft 365 distribution group
| Question | Outlook contact group | Microsoft 365 distribution group |
|---|---|---|
| Where it is stored | Mailbox Contacts folder | Organization address book in Exchange Online |
| Member capacity | Best kept small; large lists can become awkward to inspect and maintain | Enterprise-scale capacity, measured after nested groups expand |
| How the send cap counts it | Members count individually | An organization-address-book group counts as a single recipient for applicable recipient accounting |
| Who can manage it | The mailbox owner in Outlook | Designated owners and Exchange administrators |
| External people | External addresses can be included directly | External membership and permission for external senders are separate controls |
| Best fit | Small personal lists | Shared departments, governed lists, and large audiences |
The counting difference changes what happens when you press Send. A contacts-folder list containing 300 members counts as 300 recipients, while an organization-address-book distribution group counts as 1 recipient, according to Microsoft Q&A's recipient-counting explanation.
That isn't permission to use Exchange as an unrestricted bulk-mail service. Message limits, sending-rate controls, authorization, and recipient policies still apply.
Capacity isn't a delivery promise
Microsoft's Exchange Online limits documentation supports distribution groups of up to 100,000 members after nested groups expand and classifies groups with 5,000 or more members as large distribution groups.
The expanded membership matters. Say a company announcement group contains departmental groups rather than individual people. Administrators must evaluate the people reached through those departments, not just the short list of group names visible on screen.
A valid group object can still contain an invalid mailbox. A former employee's address, a misspelled customer domain, or an abandoned shared inbox doesn't become deliverable because it sits inside an approved group.
Switch rule: When another person must maintain the membership, stop treating the list as a private address shortcut.
External recipients also deserve deliberate management. Their presence doesn't automatically mean you need to accept mail from outside the organization, and accepting outside mail doesn't prove those members receive your announcements.
How to Create an Email Distribution List in Outlook
Start by deciding whether you're creating a personal contact list or an organization-managed distribution group. The client's wording matters: a command that creates a Microsoft 365 collaboration group isn't necessarily creating the distribution group you intended.
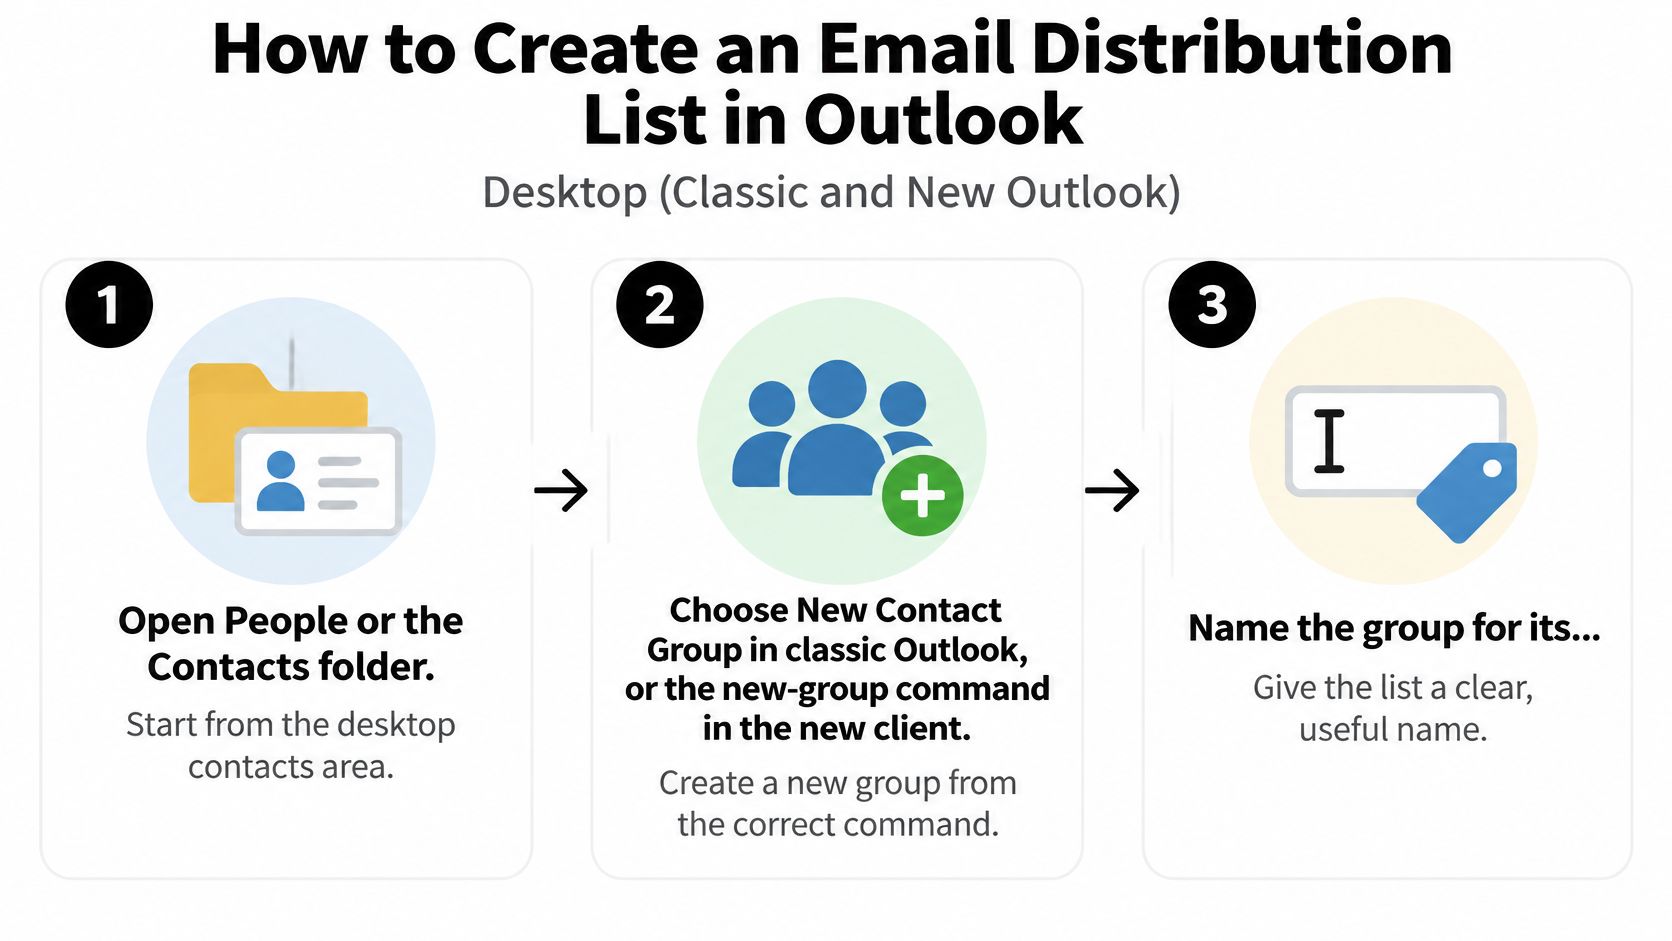
Create a personal list on desktop
- Open People. In classic Outlook, open People or the Contacts folder associated with the mailbox that should hold the list.
- Choose the contact-list command. Classic Outlook uses New Contact Group. In new Outlook, look for New contact list, often under the New contact menu. Don't choose a collaboration-group command merely because it includes the word group.
- Give it a recognizable name. Finance Approvers is more useful than List A. Choose a name that tells you who belongs and why you'd email them.
- Add the members. Select directory entries or enter complete email addresses. Check the underlying address rather than trusting the display name alone.
- Save, close, and reopen. Confirm that the intended members remain present and their addresses haven't been omitted or replaced.
The reopen check is a practical safeguard, not busywork. A list that looked complete while you edited it may not contain exactly what you expected after saving.
Create an organization distribution group
Distribution-group management moved out of Outlook on the web in August 2023, according to Microsoft's distribution-groups guidance.
Use the Exchange admin center or your organization's designated group-management portal:
- Sign in with appropriate permissions. An administrator can create the group; owner capabilities depend on the organization's configuration.
- Create a distribution group. Set a clear display name, group email address, and description explaining its purpose.
- Assign ownership and membership. Give a primary owner and a backup responsibility for reviewing changes.
- Review delivery settings. Choose who may post and whether messages require moderation before release.
A backup owner prevents routine maintenance from stopping when the primary owner is unavailable. Ownership should belong to people who understand the audience, not just whoever requested the address.
Check desktop, web, and mobile behavior
On iOS and Android, address an existing organization group from the recipient field. Make structural changes through desktop contacts tools or the management portal rather than expecting mobile Outlook to expose every administrative setting.
Run a small internal pilot from desktop Outlook, Outlook on the web, and a phone. Ask the pilot members to confirm receipt from each client, and check that the selected group resolves to the intended address rather than an old autocomplete entry.
Move a Contact Group to an Organization Distribution Group
Migration means rebuilding the list under centralized control. Copying member addresses alone won't transfer ownership, posting restrictions, mail rules, or other delivery behavior.
Keep a recoverable original
Use this sequence before retiring the personal list:
- Capture the membership. Save a copy of the original contact group, then extract its member names and email addresses into a CSV. Outlook's export options differ by client, so use the appropriate method in our guide to exporting a contact list from Outlook.
- Review the addresses. Remove duplicates, correct confirmed typos, and identify abandoned mailboxes. Don't delete every shared address automatically; check whether someone actively monitors it.
- Create the organization group. Choose a durable address and assign both a primary owner and a backup.
- Import and reconcile. Add the reviewed members, reopen the group, and compare its membership against the cleaned CSV.
- Set posting permissions. Specify authorized senders and moderation requirements. Permit external posting only where the business purpose requires it.
- Test before retirement. Send a controlled internal message, confirm receipt, and notify users of the new group address before removing the old shortcut.
Preserve behavior as well as names
Search for Outlook rules, saved drafts, templates, and autocomplete suggestions that reference the former list. Those references won't necessarily change just because you created a new group.
Keep the original export until you've reconciled discrepancies. Compare both the member count and the actual addresses: matching totals can conceal an omitted person and an unintended replacement.
A successful migration preserves the intended audience and permissions, not just the display name.
Record who approved the final membership. That gives the next owner a useful starting point when someone asks why a particular address receives the mail.
Control External Delivery and Recipient Caps
An outside member can appear in a group yet receive nothing, and the sender may not receive a non-delivery report. That's why a saved address isn't proof of successful external delivery.
Microsoft's Exchange Online distribution-group guidance distinguishes sender restrictions from membership: distribution groups default to accepting messages from inside the organization, while administrators control whether outside senders may post.
Separate the sender from the member
An external sender is someone outside your organization writing to the group. An external member is an outside address intended to receive group mail.
These are different directions of travel. If your staff send announcements to outside partners, opening the group to incoming internet mail isn't automatically the right repair for a missing announcement.
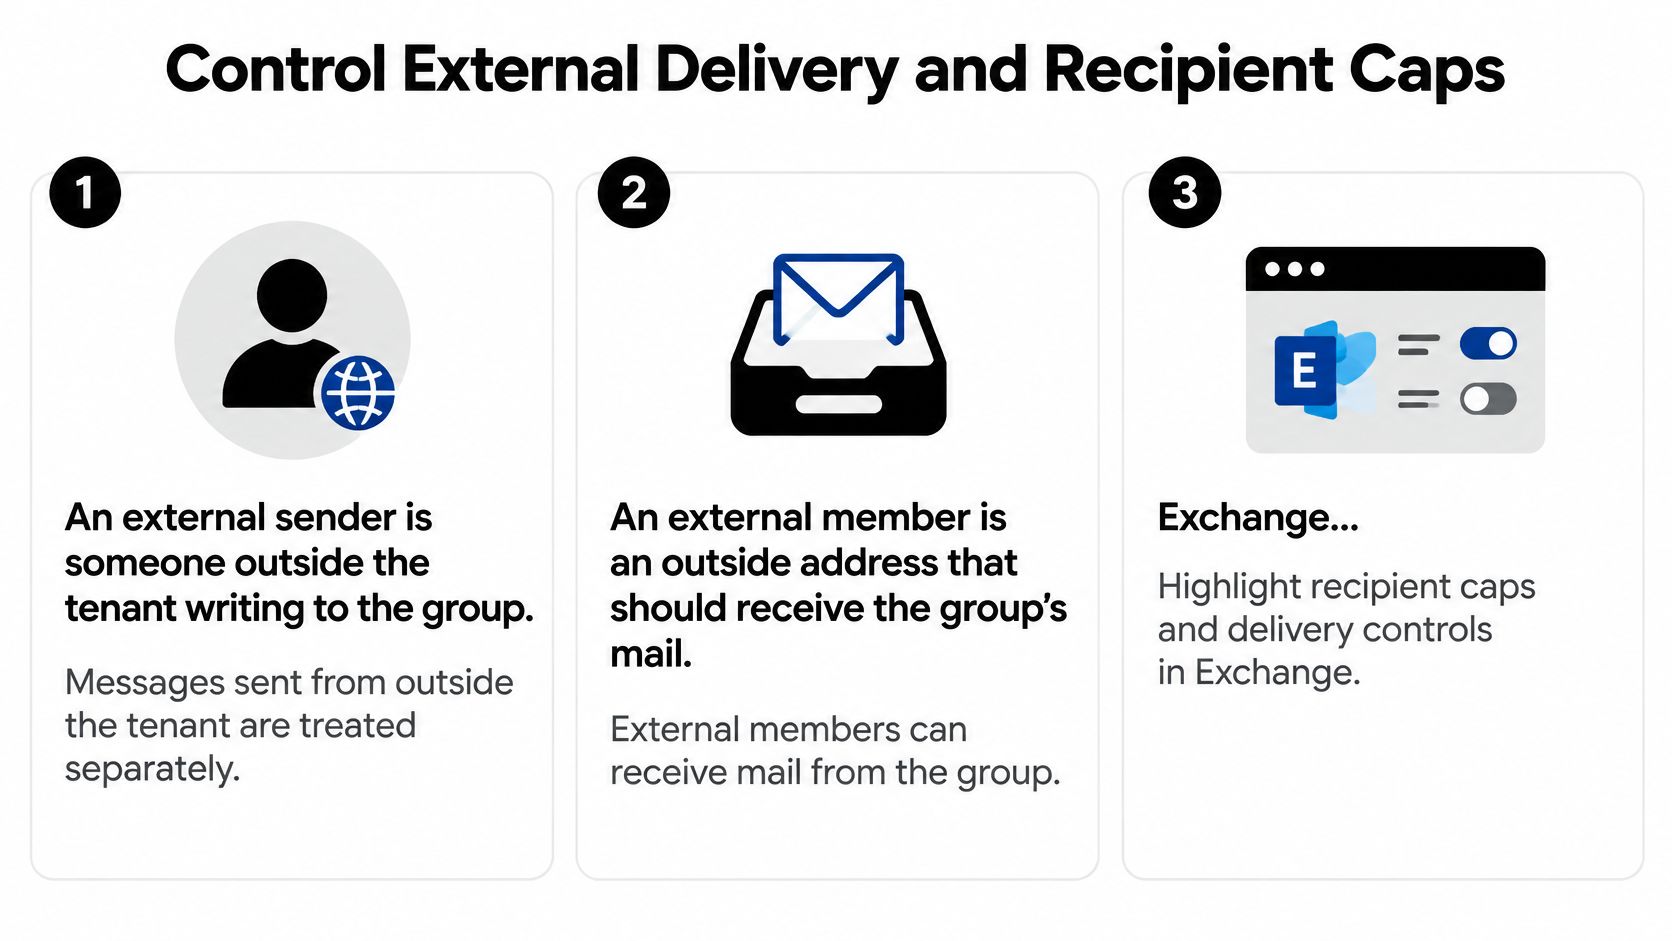
Prefer approved senders or moderation where broad posting access isn't necessary. Ask an administrator to inspect the affected message's trace, recipient configuration, and applicable mail-flow policies instead of changing unrelated controls.
Outlook Newsletters needs separate consideration. Its newsletter editions don't support external recipients; outside addresses are removed at sending while eligible internal recipients still receive the edition. Don't use that feature as a customer newsletter system.
Put recipient caps beside the sending workflow
Microsoft's message-size and recipient-limit documentation states an Exchange Online organization limit of 500 recipients per message, describes that cloud limit as nonmodifiable, and treats an unexpanded distribution group as a single recipient for that calculation.
A Microsoft Q&A answer about distribution-list capacity also cites a 10,000-recipient daily rate limit. That's a separate control from group capacity, not a promise that every large send will be accepted or delivered.
Avoid building an operating procedure around the largest published figure. Ask the administrator to confirm the controls that apply to the sending mailbox and tenant before scheduling a substantial external send.
Test both permitted and blocked paths
- Confirm the intended direction. Decide whether outside people need to receive messages, submit messages, or both.
- Use representative outside mailboxes. Send a controlled message and obtain confirmation from the recipient, rather than relying only on the absence of a bounce.
- Challenge the restriction. Verify that an unauthorized sender can't post where posting is restricted.
- Expand only after review. Add the remaining outside members after the test succeeds and the administrator has checked any unexplained omissions.
Keep message identifiers and test results. They make troubleshooting much easier than a report that some people didn't get the email.
Clean and Segment the List Before You Send
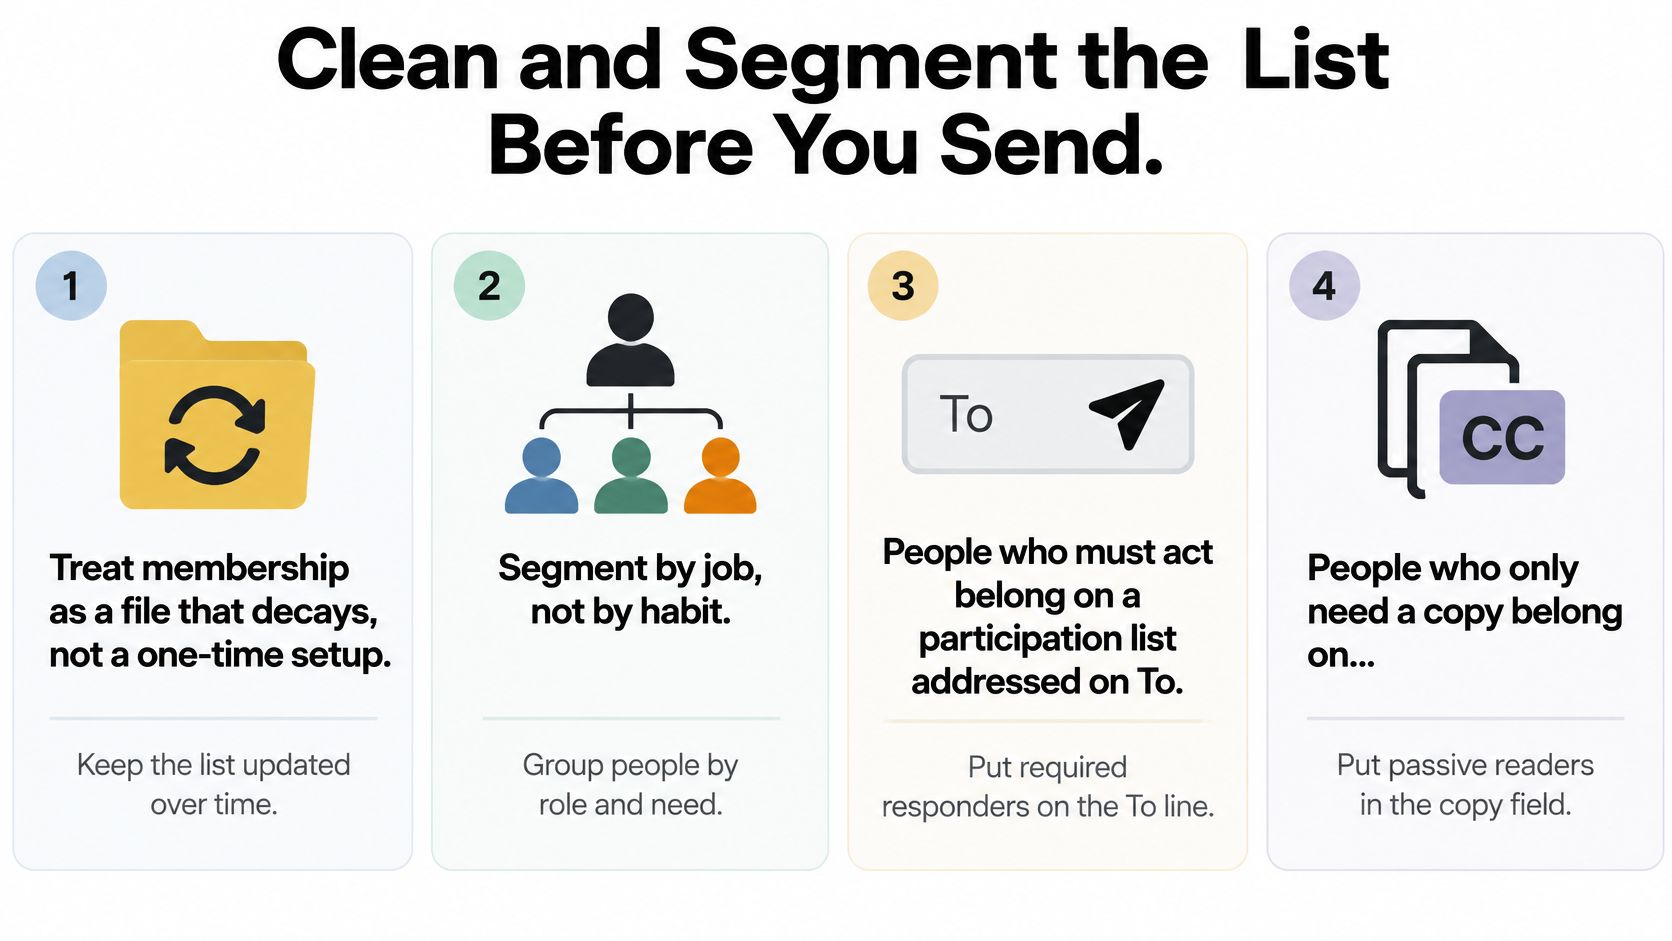
Segment by what recipients must do, not by who happened to appear in the original spreadsheet. A participation list needs different membership and posting permissions from an announcement list.
For example, a retailer's store managers may need to answer a stock-recall request. Regional observers may only need visibility. Mixing them into a conversational list invites unnecessary replies and makes it harder to identify who still owes an answer.
Separate action from awareness
- Participation lists: Use the To field when members need to act, decide, or respond.
- Informational lists: Use Cc when recipients need awareness rather than an assignment.
- Privacy-sensitive messages: Reserve Bcc for suitable one-off communication, not as the operating model for a discussion list.
- Customer campaigns: Use a sending workflow that supports consent, removals, and delivery reporting rather than assuming a saved group provides those functions.
Keep the group intact in the recipient field instead of routinely expanding it into individual names. Set posting permissions to match the purpose: an announcement audience doesn't necessarily need permission to broadcast replies to everyone.
Give an owner a recurring audit
Schedule a quarterly membership review as an operating practice. Review sooner after reorganizations, staff departures, or a long pause in sending.
Remove people who no longer belong to the audience. Investigate addresses that bounced, and check shared inboxes such as info@ and support@ with the person responsible for them. A role address isn't always invalid, but it may reach the wrong audience or nobody at all.
Before Send: Confirm both that the address can receive mail and that its owner should receive this message.
Check old imports again before reuse. Syntax errors, discontinued domains, disposable mailboxes, and abandoned accounts require different decisions; no group permission can repair a dead mailbox.
Don't guess corrections to customer addresses. Confirm the intended address through an appropriate existing relationship, or leave the uncertain entry out until it's resolved.
Record outcomes you can act on
Maintain a simple send log rather than borrowing a generic email-marketing benchmark:
- Delivery rate: Define the denominator and distinguish accepted mail from confirmed inbox placement.
- Non-delivery reports: Record the recipient, failure explanation, and whether the failure needs correction or investigation.
- Complaints and reply-all incidents: Note what triggered them and whether posting permissions should change.
- Membership-change errors: Record failed additions, unexpected removals, and mismatches found during reconciliation.
Review patterns rather than treating every failure as proof that the group is too large. A repeated mailbox-not-found response points toward an address problem; an authorization rejection calls for a permissions review.
Assign a person to resolve each issue. A log is useful only when someone removes the bad entry, corrects the configuration, or obtains the missing confirmation.
Fix Drops Bounces and Reply-All Noise
Start with the symptom, then change the setting or address responsible for it. Making the group more permissive without understanding the failure can create a new problem while leaving the original one unresolved.
Distribution list failures and fixes
| What you see | Likely cause | Fix |
|---|---|---|
| Outside members never get the mail and there is no bounce | External-recipient configuration, mail-flow policy, or a silent exclusion | Trace the message and test an affected outside domain; change sender permissions only if posting is the problem |
| Customers vanish from an Outlook Newsletter | External recipients aren't supported for editions | Use a customer-capable newsletter platform |
| Recipient-limit error on a modest list | A Contacts-folder list counts its individual members | Rebuild a genuinely shared list as an organization distribution group |
| Reply-all storm | Broad posting permissions or individually expanded recipients | Restrict posters and retain the group address |
| Mail misses the recipient's folder rules | Bcc addressing or recipient expansion | Use the intact group on To for action or Cc for awareness |
| Cannot edit the group in Outlook on the web | The management interface is elsewhere | Use the Exchange admin center or designated management portal |
| Bounces inside a group below its capacity limit | Invalid or stale addresses, or recipient-specific rejection | Read the failure reason and correct or remove the affected entry |
Diagnose the failures that look deceptively normal
For silent outside misses, don't assume the recipient ignored the message. Ask the administrator to trace the send and compare a successful internal recipient with an affected external recipient. Verify the outside mailbox directly before changing group-wide access.
For recipient-limit failures, inspect where the list is stored. A familiar display name doesn't tell you whether Outlook has resolved a private contact group or the organization's managed address.
For reply-all noise and misrouting, Microsoft's Outlook email best-practices guidance recommends keeping distribution lists unexpanded and using To or Cc rather than Bcc so recipient rules can work as intended. Restrict posting where appropriate, then send the final resolution to the intended audience instead of leaving it in a private side conversation.
Separate address failures from inbox-placement problems
Read the actual bounce before deleting a member. A temporary rejection, a permissions failure, and a nonexistent mailbox need different treatment; our guide to email bounce handling rules helps organize those decisions.
If Exchange accepts the message but recipients report spam-folder placement, address cleaning alone won't diagnose the cause. You can test your email deliverability with Mailwarm as an additional diagnostic, alongside message traces and recipient confirmation.
For moderated or external-facing groups, also test approval, automatic replies, and removal requests. Confirm that someone owns each workflow before relying on it for routine communication.
Verify Addresses Before the Next Send
An internal group with accountable owners, appropriate posting restrictions, current membership, and successful client tests is ready for normal use. Keep its owners responsible for changes and investigate new failures as they arise.
Customer, subscriber, and outbound lists need an additional pause before sending. If the file has been sitting unused, don't assume its addresses remain valid because Outlook can still display them.
Review the file before rebuilding membership
Export the addresses and preserve the original. Check syntax, domain validity, and mailbox-related results, then review disposable and role-based addresses separately.
A shared inbox may be a legitimate purchasing contact; a disposable address may no longer serve any useful purpose. Make the decision based on the intended audience rather than deleting every flagged category without review.
Our guide to validating email addresses explains how to turn those checks into a repeatable pre-send process.
Use verification as a decision aid
CleanMyList is an option for this review. We accept CSV uploads, pasted rows, linked files, and imports from connected tools, then provide a label, score, and plain-English reason for each address.
Use verification only where you have a legitimate sender relationship or authority to process the list, such as your own customer list. A deliverable mailbox isn't evidence of consent, interest, or permission to send a campaign.
- Keep confirmed recipients: Return the selected addresses to the group or sending platform.
- Review uncertain results: Investigate catch-all, role-based, and other ambiguous entries rather than treating them as guaranteed deliveries.
- Exclude unsuitable entries: Keep confirmed invalid addresses and unwanted throwaway accounts out of the next import.
- Reconcile the final audience: Check the exported selection against the membership you saved.
Verification reduces avoidable address failures; it doesn't replace permission controls or a delivery test. Send only when the audience, addresses, and sending method all fit the message.
CleanMyList checks addresses before you put them into an Outlook group or campaign, helping you remove bad entries while keeping your original list untouched. Visit CleanMyList to review your next import and try cleaning 50 emails at no cost, with no credit card or sales call required.